

Whether you're a new user or considering switching, in this article we'll explain where to put your FreeStyle Libre sensor. That small, no-prick glucose meter that so many people with diabetes use daily to monitor their glucose levels without discomfort and in real time. We'll also tell you what it is and how to correctly read the data provided by this glucose sensor. We'll also give you some tips for protecting it so it lasts the full 14 days without any problems.
What is the Freestyle Libre sensor?
The Freestyle Libre sensor is a diabetes arm patch that measures glucose levels in interstitial fluid (the fluid surrounding cells, not blood). This glucose sensor is the size of a two-euro coin and is applied to the skin with an applicator. It has a lifespan of up to 14 days, during which time it stores glucose data every 15 minutes.
Its main advantage is that you don't need to prick your fingers to get results. Just hold the reader or a compatible smartphone close to the sensor and you get the measurement instantly. This way, you can detect patterns, anticipate drops, and maintain better overall control.

Where to place the Freestyle Libre glucose sensor
If you still don't know or have doubts about where to place the FreeStyle Libre sensor, pay attention, because we'll tell you here:
It is recommended to place it exclusively on the back of the arm, as indicated by the manufacturer. More specifically, on the fleshy area between the shoulder and elbow, avoiding the central triceps. Other areas are not validated and could affect the results of blood glucose monitoring.
Why this place? Because:
- It is an area with good circulation of interstitial fluid.
- It has little muscle movement compared to other areas.
- It is easily accessible for both right- and left-handed users.
- Reduces the risk of the insulin sensor becoming detached due to friction or pressure.
Although it is sometimes heard that some users place the sensor on other parts of the body (such as the abdomen or thighs), this is not approved by the manufacturer and could affect the accuracy of the measurements.
How to place the sensor
Inserting the FreeStyle Libre blood glucose sensor is simple, but it's important to do so carefully:
- Wash and dry thoroughly the area of your arm where you will place the sensor.
- If desired, gently shave the area to prevent hair from interfering with adhesion.
- Use the alcohol wipe included in the kit to disinfect your skin.
- Assemble the applicator according to the manufacturer's instructions.
- Apply the sensor to your arm in a single, firm, and direct motion.
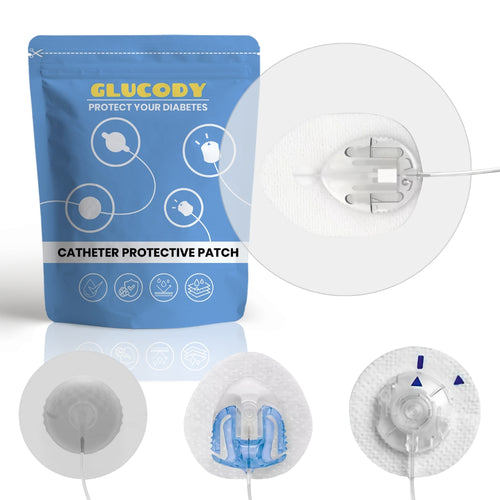
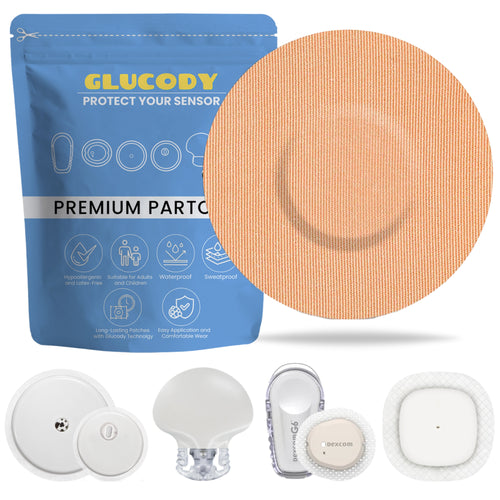
- Make sure it's firmly attached, but don't press too hard. 7. To ensure its fit and durability, use protective patches, such as those from Glucody, which help keep the sensor in place, even if you sweat, swim, or play sports.
How to set up a new sensor on your glucose meter
After applying the sensor, you need to activate it from the official FreeStyle Libre reader or from the mobile app:
- Open the FreeStyle Libre app on your smartphone and select “Start New Sensor” from the main menu.
- Bring the reader or smartphone close to the sensor and hold it until the app confirms the reading (sound or vibration).
- Wait a few seconds until the device is detected. The system will display a message saying "Sensor activated successfully."
- You'll need to wait 60 minutes for the sensor to stabilize and begin sending accurate glucose readings to your phone. During that first hour, the sensor is calibrating, so no data will be collected. This is completely normal.
- After that time, you can start scanning your levels.

How to measure glucose with the Freestyle Libre sensor
Once the no-prick glucose meter is activated, taking a reading is as easy as holding the reader up to the sensor. Do this as many times as you like, but remember that the device automatically saves data only every 15 minutes.
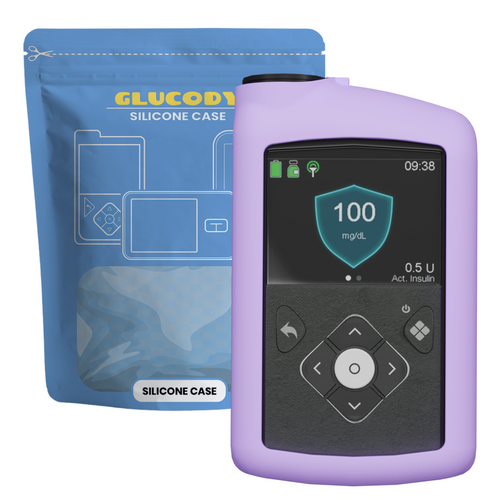
You can use the specific reader or the official app, compatible with many Android and iOS phones, the system displays:
- Current glucose reading.
- Chart of the last 8 hours.
- Trend (up, down or stable).
Meaning of the arrows in the glucose reading
On the reading, next to the glucose number, there's an arrow indicating the direction your level is moving. These arrows are a powerful tool for anticipating:
- 🔼 Up arrow indicates that glucose is rising rapidly.
- ➡️ Horizontal arrow, glucose is stable.
- 🔽 Down arrow indicates that glucose is dropping.
For example, if your glucose is at 90 mg/dL and the arrow is pointing down, it may be a good time for a small snack, depending on your eating plan.
How to keep the sensor protected?
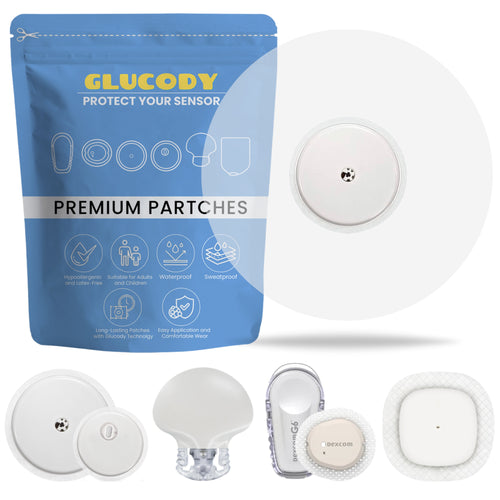
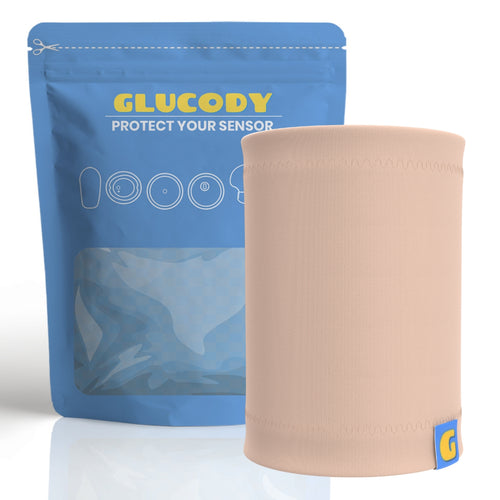
Although the sensor is designed to withstand showers, sweat, and movement, it's still a good idea to protect it, especially if you play sports, go swimming, or simply live in a hot climate. Glucody protective patches are designed to:
- Increase adhesion.
- Protect against accidental bumps or snagging.
- Allow the skin to breathe.
- Being in contact with water without detaching.
Live freely and safely with Glucody
Now that you know exactly where to place the Freestyle Libre insulin sensor and how to use it correctly, it will be easier for you to take full advantage of its benefits.
If you want to buy your glucose sensor protector and keep this life-enhancing tool protected, at Glucody we have everything you need: durable, comfortable, and safe patches tailored to your lifestyle.
Have questions? Write to us and we'll help you choose the best product for you.


